Showing posts with label Paper Flowers. Show all posts

Wedding DIY....

Hey folks! I'm sure you've been anxiously waiting for a DIY post for all the wedding crafts I kept myself busy with the past few months. There are so many that I'm going to tantalize you with photos and descriptions now. Later, I will post tutorials or at least links to the tutorials that inspired me. Ready? First of all....the wedding dress...
********************************************************************************************************************* The Hairpieces...
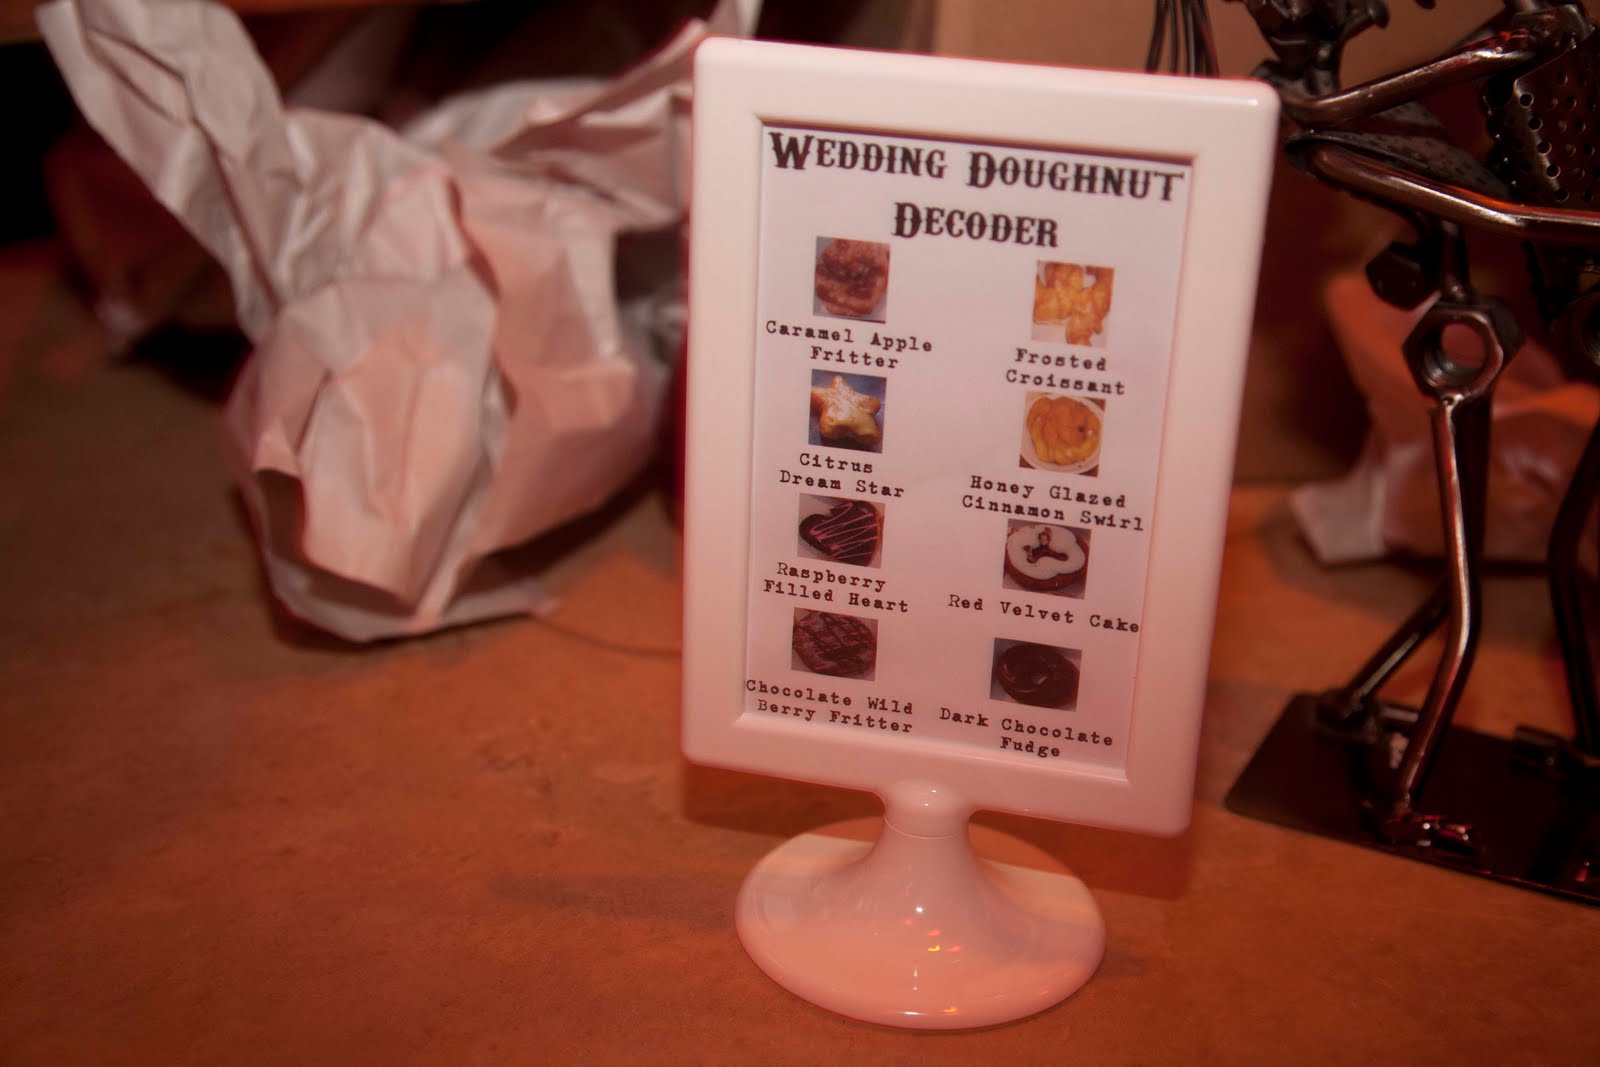
********************************************************************************************************************* The Wedding Doughnut Display...
********************************************************************************************************************* The Programs, Guest Haikus, Celebratory Flags, Personalized Pens...
********************************************************************************************************************* Bouquets, Boutineers, Corsages, Wristlet...
******************************************************************************************************************** Garland for the Card Box...
******************************************************************************************************************** Gifts for the wedding party... Rings for the ladies...
Cufflinks for the guys (amazingly enough...not a single picture was taken of anyone's cufflinks...) They were like the cufflinks in my etsy shop, only with initials. ******************************************************************************************************************* Tea Favors...
********************************************************************************************************************* Vintage Napkin silverware rolls with tags containing awesome quotes...
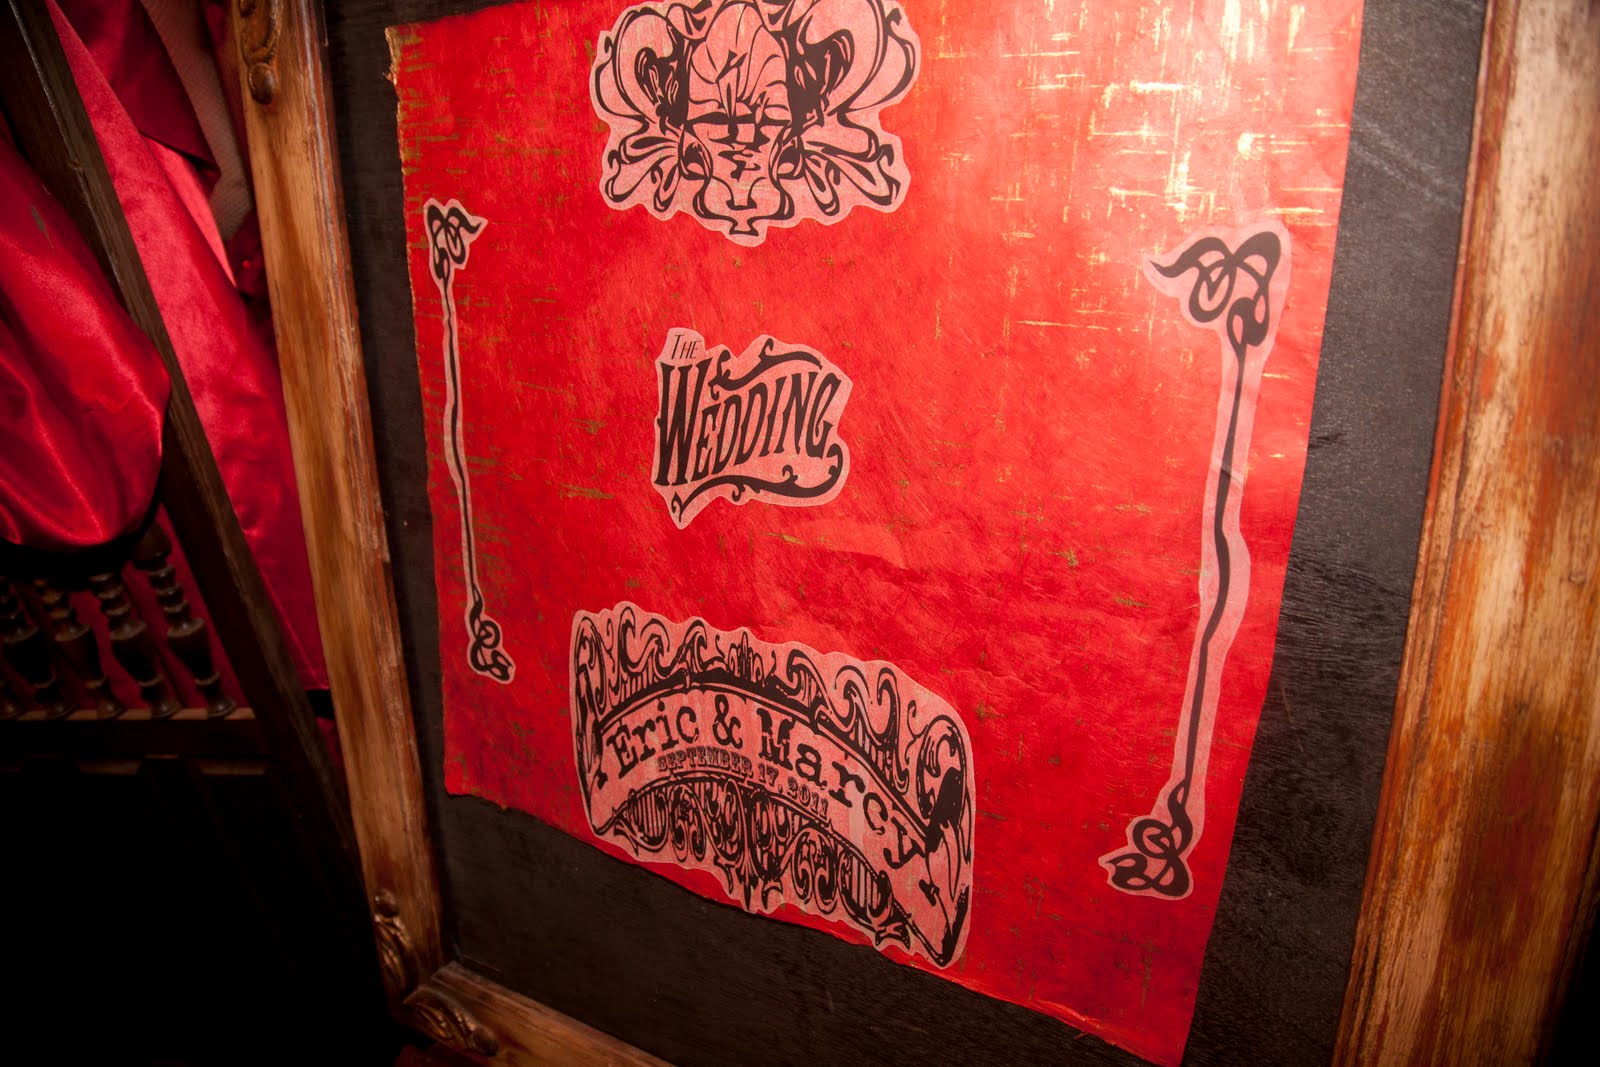
********************************************************************************************************************* Signage...
********************************************************************************************************************* My Mom and Stepdad created this amazing Chuppah to stand under for the ceremony...gorgeous..isn't it? I don't think the photos truly do it justice though...
*********************************************************************************************************************** AND a non-crafty tutorial on hair and make-up...
You'll excuse me for the lack of blogging while in the process of these wonderful crafting activities...? Good. I'll see you next time around and I'll go into tutorial detail.......... PS...some of the Photographs were brought to you today by camera happy friends and family, others are courtesy of our fantastic photographer, Kalen Marie Curtis of Kalen Marie Photography.

Sweet Boutineers with Paper flowers and Peacock Feathers

This weekend I spent part of my time working on crafting for the wedding. Remember those paper flowers a while back? Well, I took some of those, trimmed them so they were a bit smaller and added some feathers and such. It was such quick going, that in the course of an afternoon, I had made boutineers for all the Groomzombies and family members.

First, I trimmed the stem on the flower so that it was the desired length.Then, on the back of the stem I put a dot of glue from a hot glue gun. I attached the peacock feather to this dot.


I added another dot on the stem to the side of the peacock feather. (I decided where to put the feathers depending on how they curved). I attached a small ostrich feather or rooster feather to the other dot of glue.

After the glue has cooled, put an small vertical line of hot glue on the stem near the bottom and attach the end of a 1" ribbon.

Wrap around once and fold down.

Fold up again, capturing the feather and stem ends.

 Fold another 45*.

Wrap around the stems all the way up to the base of your flower.

Fold over the end of the ribbon and secure with hot glue. Glue a broach or broken earring with the back removed to the front to add texture, interest and a bit of sparkle.


Final Product


PS- sorry the photos are so awful...I had to take them with my phone and the quality isn't the best...

Romantic Paper Flowers

Well, today I've been working on some crafting for my upcoming nuptials. Yeah, i know, wedding crafts. But these flowers turned out pretty awesome, so I thought I would share.
First you find yourself a book you don't mind pulling apart. Mine, I got for 10 cents from Atlanta Books.
Next, tear out the pages you want to use


If you are using a newish book, tea dyeing the pages will make them look old. Here's how...
Get a pan or dish with some depth and black tea bags. I used a glass loaf pan.

Pour boiling water over the tea bag into the dish and steep the tea bag until it's very dark and strong.


Place the pages into the tea and let them soak until they are as dark as you would like them to look. When they have reached their desired levels, take out of the tea and let air dry on some paper towels. This is what they will look like when dry.


Once they are fully dry, cut off the corners and any roughly torn edges so you have a large oval shape.


Next, fold in half, then fold over another quarter to half inch or so. Secure under the fold with a bit of rubber cement or glue in the center.


Now, fold lengthwise then fold over another eighth to quarter inch and secure in the center with a bit of rubber cement or glue.


Open and flatten slightly. This is what it should look like...


Make a fan-like  fold in each corner. This should make the flower have an almost cup-like appearance.


Take a shanked button or large bead and a needle and thread and stitch your center in place with three or four small stitches and knot. Alternatively, you could also hot glue this into place or secure with jewelry wire.


Next, curl under the edges of the flower by rolling up the long sides first.


Flip over your flower and either rubber cement or hot glue a floral wire stem that is bent slightly into place. These are easily found in the floral department of craft stores.


After the glue is dry and/or cool. Use floral tape (also found in the floral department in craft stores, it usually comes in either green or white) to wrap the base of the flower and the top part of the stem to secure and give it a more aesthetically pleasing appearance.


Now, the only thing left to do is adjust the curl of your edges and make a ton of them! Another option is to singe the edges of the flowers to give it a worn in appearance. I haven't decided if I want to treat the flowers this way or not. If I do, I'll post the how-to and results later.