Hey folks!
I'm sure you've been anxiously waiting for a DIY post for all the wedding crafts I kept myself busy with the past few months. There are so many that I'm going to tantalize you with photos and descriptions now. Later, I will post tutorials or at least links to the tutorials that inspired me.
Ready?
First of all....the wedding dress...
*********************************************************************************************************************
The Hairpieces...
*********************************************************************************************************************
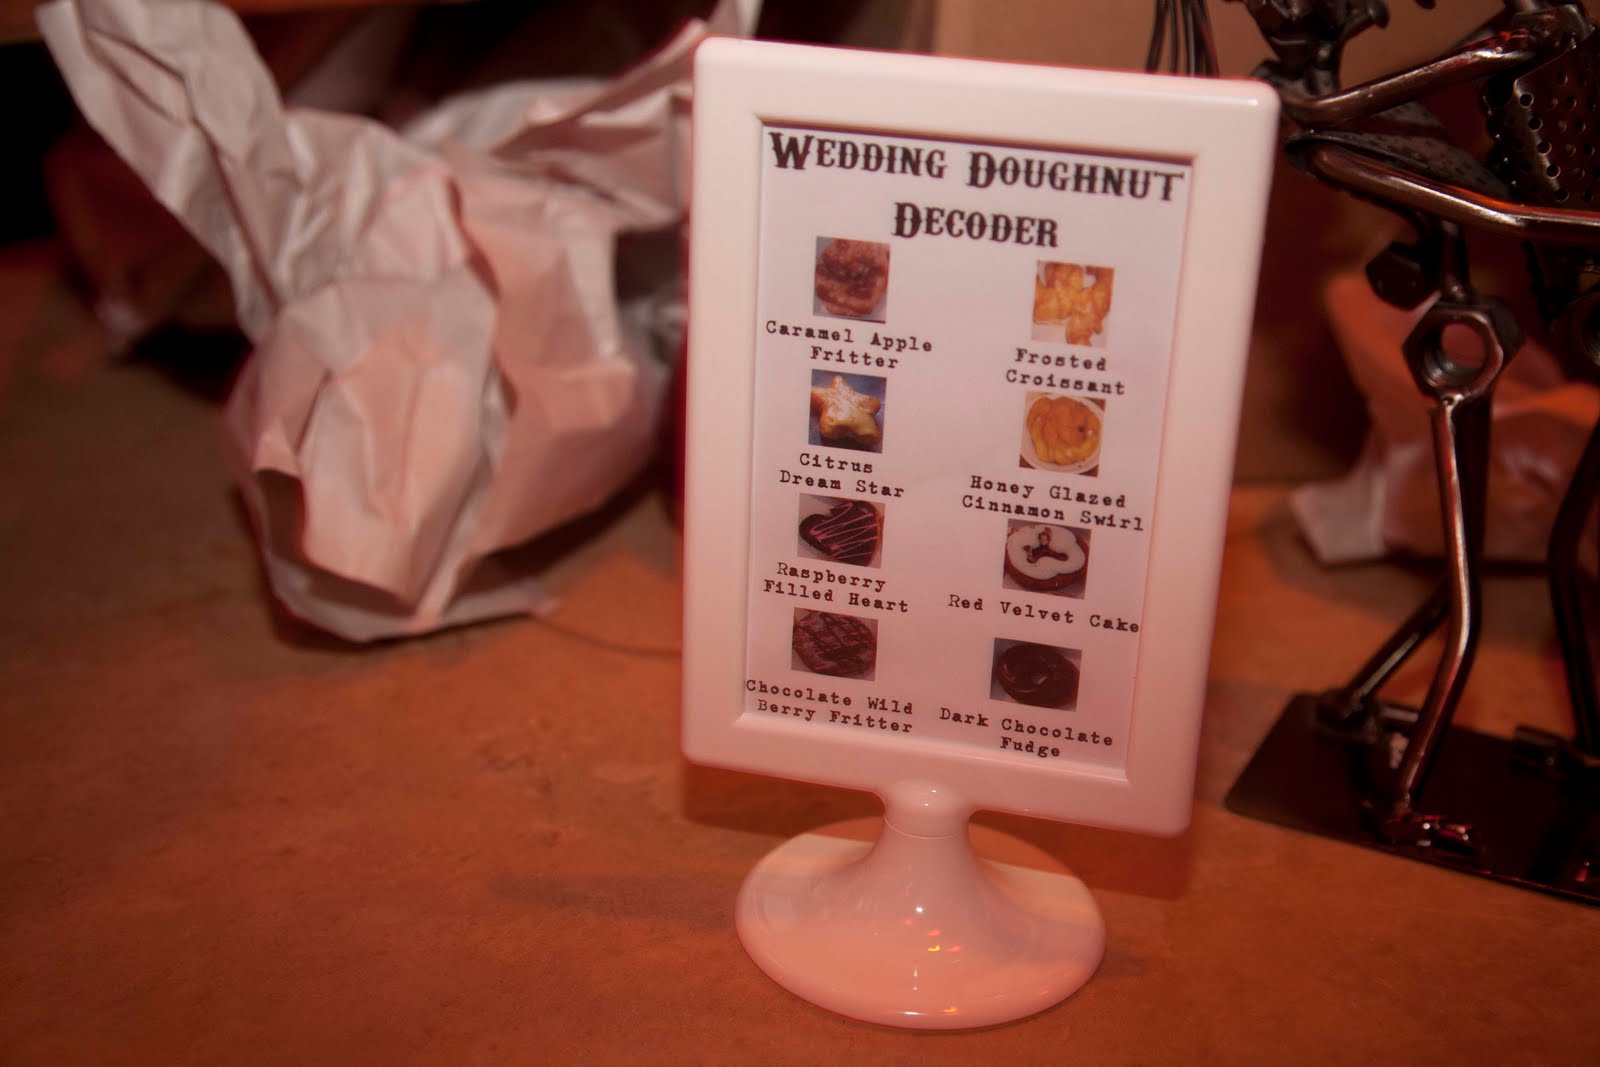
The Wedding Doughnut Display...
*********************************************************************************************************************
The Programs, Guest Haikus, Celebratory Flags, Personalized Pens...
*********************************************************************************************************************
Bouquets, Boutineers, Corsages, Wristlet...
********************************************************************************************************************
Garland for the Card Box...
********************************************************************************************************************
Gifts for the wedding party...
Rings for the ladies...
Cufflinks for the guys
(amazingly enough...not a single picture was taken of anyone's cufflinks...) They were like the cufflinks in my etsy shop, only with initials.
*******************************************************************************************************************
Tea Favors...
*********************************************************************************************************************
Vintage Napkin silverware rolls with tags containing awesome quotes...
*********************************************************************************************************************
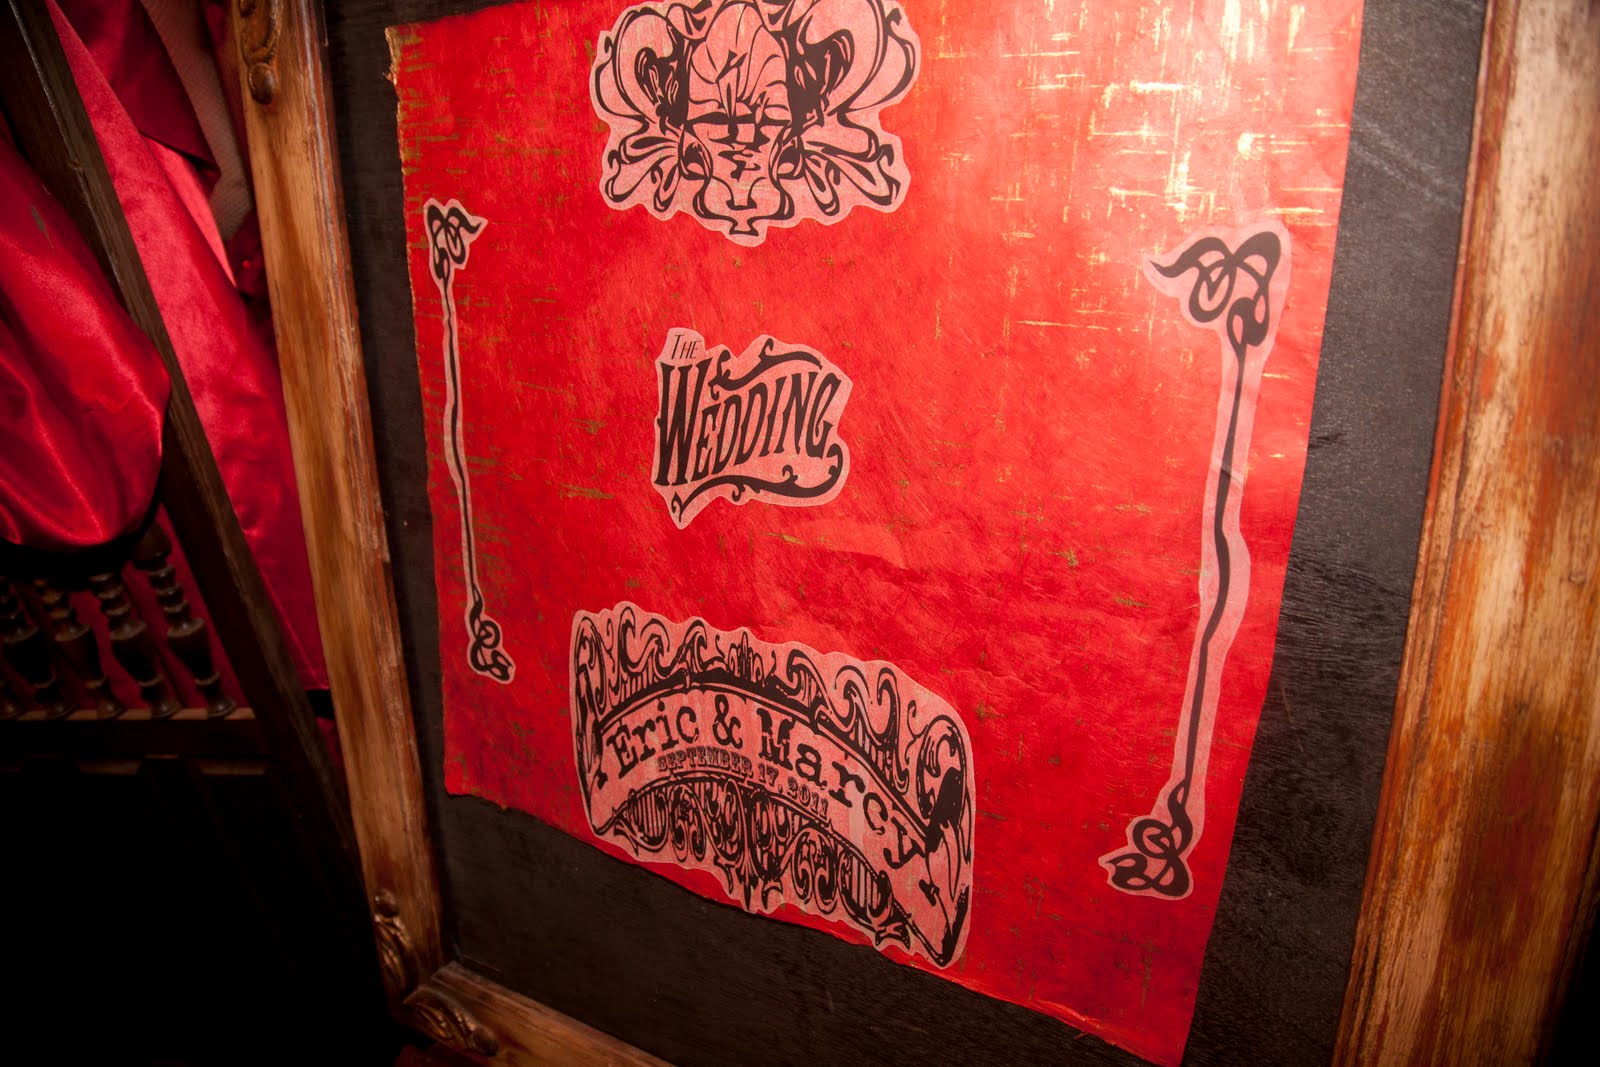
Signage...
*********************************************************************************************************************
My Mom and Stepdad created this amazing Chuppah to stand under for the ceremony...gorgeous..isn't it? I don't think the photos truly do it justice though...
***********************************************************************************************************************
AND a non-crafty tutorial on hair and make-up...
You'll excuse me for the lack of blogging while in the process of these wonderful crafting activities...? Good. I'll see you next time around and I'll go into tutorial detail..........
PS...some of the Photographs were brought to you today by camera happy friends and family, others are courtesy of our fantastic photographer, Kalen Marie Curtis of
Kalen Marie Photography.